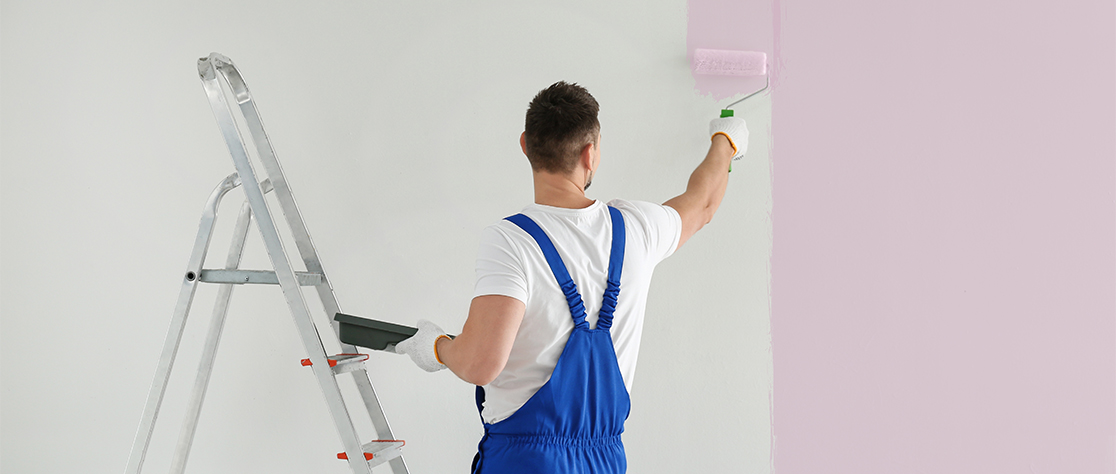
How Do Professionals Prepare Walls for Painting?
Initial Assessment of Wall Condition
Professionals begin by carefully inspecting the walls. They look for cracks, dents, holes, stains, and peeling paint. A visual check under bright light highlights imperfections that may not be obvious at first glance. High and low points, uneven textures, and previous poor repairs are marked. Correct assessment ensures the surface is ready for a smooth and lasting finish.
Cleaning the Surface Thoroughly
Walls accumulate dust, grease, and grime, which prevent paint from adhering. Professionals wash surfaces with sugar soap or mild detergent, then rinse thoroughly with clean water. They allow the walls to dry completely. In kitchens and bathrooms, stubborn grease or mould is removed using specialised cleaning solutions. A clean wall guarantees a uniform coat and reduces the risk of peeling or patchiness.
Removing Loose Paint and Wallpaper
Any flaking or bubbling paint is scraped away using a sharp scraper. Old wallpaper is stripped entirely, and leftover adhesive is removed with warm water or wallpaper remover. Professionals check corners, edges, and behind skirting boards to ensure nothing compromises adhesion. Even minor remnants left behind can result in uneven surfaces or visible imperfections.
Filling Cracks and Holes
Next, all holes, cracks, and dents are filled using quality fillers. Small holes require a simple application, while deeper cracks may need multiple layers. Professionals apply filler with a putty knife, pressing it firmly into gaps. Edges are smoothed to avoid bumps. Each layer is allowed to dry fully before sanding, ensuring a flat, flawless wall ready for priming.
Sanding and Smoothing Surfaces
Sanding removes rough patches, dried filler edges, and minor imperfections. Professionals use medium- and fine-grit sandpaper depending on the surface. Walls are rubbed down evenly, and corners and trims are carefully feathered. Sanding ensures that light reflects uniformly across the wall, giving the painted surface a polished and professional finish. Dust from sanding is then wiped away using a damp cloth or tack cloth.
Priming and Sealing
Priming prepares walls to accept paint evenly. Professionals select primers according to wall type and condition: stain-blocking primers for water or smoke marks, high-adhesion primers for previously painted or glossy surfaces. The primer is applied evenly with a brush or roller, sealing the surface and creating a base for the topcoat. Priming prevents uneven absorption and extends the lifespan of the paintwork.
Treating Special Wall Conditions
Some walls require extra attention. Damp patches are treated with anti-mould solutions or repaired with damp-resistant plaster. Porous or bare plaster may need an additional mist coat before painting. In older properties, professionals inspect for cracks caused by movement or settlement and stabilise problem areas. These steps prevent issues from reappearing after painting.
Taping and Protecting Surroundings
Edges, skirting boards, window frames, and fixtures are carefully masked with painter’s tape. Floors are covered with dust sheets or protective sheeting. This ensures clean lines and prevents accidental paint splatters. Furniture is moved or covered to create a clear workspace. Professionals plan this stage meticulously to save time during painting.
Final Inspection Before Painting
Before painting the wall, a final inspection is carried out. Professionals check that all filler is dry and sanded, primer is smooth, and surfaces are free of dust. Any remaining imperfections are corrected. This step ensures that once painting begins, the finish is seamless, smooth, and visually flawless.For homeowners seeking a truly professional finish, hiring the best painter and decorator in Surbiton guarantees expert preparation and expert results. Proper wall prep makes the difference between ordinary paintwork and perfect, long-lasting finishes.