DIY Guide to Removing Vinyl Siding
Is your house looking a bit worn out? When vinyl siding is too damaged to fix, replacing it may be the best option. While removing vinyl siding can seem like a big job, the good news is, that you can do it yourself! Here’s a simple guide to help you remove vinyl siding from your home in just a few steps.
Steps to Remove Vinyl Siding
Removing vinyl siding is easier than you might think. Whether replacing the whole house or just a small section, follow these steps.
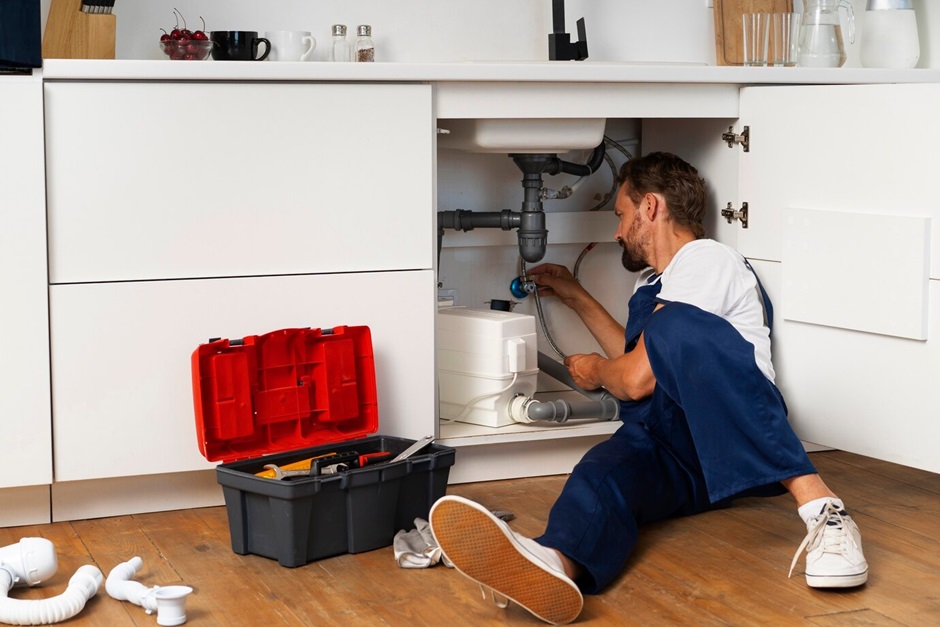
Step 1: Collect All Required Tools and Materials
Before beginning the project, ensure you have everything you need on hand. It’s important to have them ready, so you don’t have to scramble during the project. Here’s a list of what you’ll need:
Tools and Supplies:
- Siding removal tool (zip tool)
- Safety glasses
- Claw hammer
- Work gloves
- Extension ladder
- Pincer pliers
- Pry bar (optional)
- Bucket (for nails)
- Closed-toe shoes
- Roll-off dumpster (for disposal)
Step 2: Unlock the Vinyl Panel
Begin at the top of the wall, using an extension ladder to access the highest section of the siding. Lift the corner of the panel enough to fit the siding removal tool underneath. Pry the panel toward you, and you’ll feel the bottom lip come free. For professional help or guidance, visit https://solidkansascitysiding.com/siding-contractor-grain-valley-mo/
Once you have a gap, use your fingers to work along the panel and release it.
If you’re removing a section mid-wall, start by unlocking the panel above the one you want to replace.
Step 3: Slide the Panel Over
Once the bottom lip of the panel is loose, carefully slide the panel out. After it’s free, bend the panel and set it aside.
Step 4: Remove the Nails
Now that the panel is off, it’s time to remove the nails. Use a claw hammer to pull out all visible nails and put them in your bucket. If a nail is stuck, try a pry bar to loosen it.
Step 5: Remove the Panel
With the nails gone, simply pop the rest of the panel free and toss it aside. Repeat this for any other panels you want to remove.
Step 6: Dispose of the Vinyl Siding
After taking down the siding, clean it and reuse it if it’s still usable. If it’s damaged, you’ll need to dispose of it. Renting a dumpster can make this process easier, as curbside pickup may not accept large amounts of debris.
Common Mistakes to Avoid
- Using a pry bar instead of the correct siding removal tool.
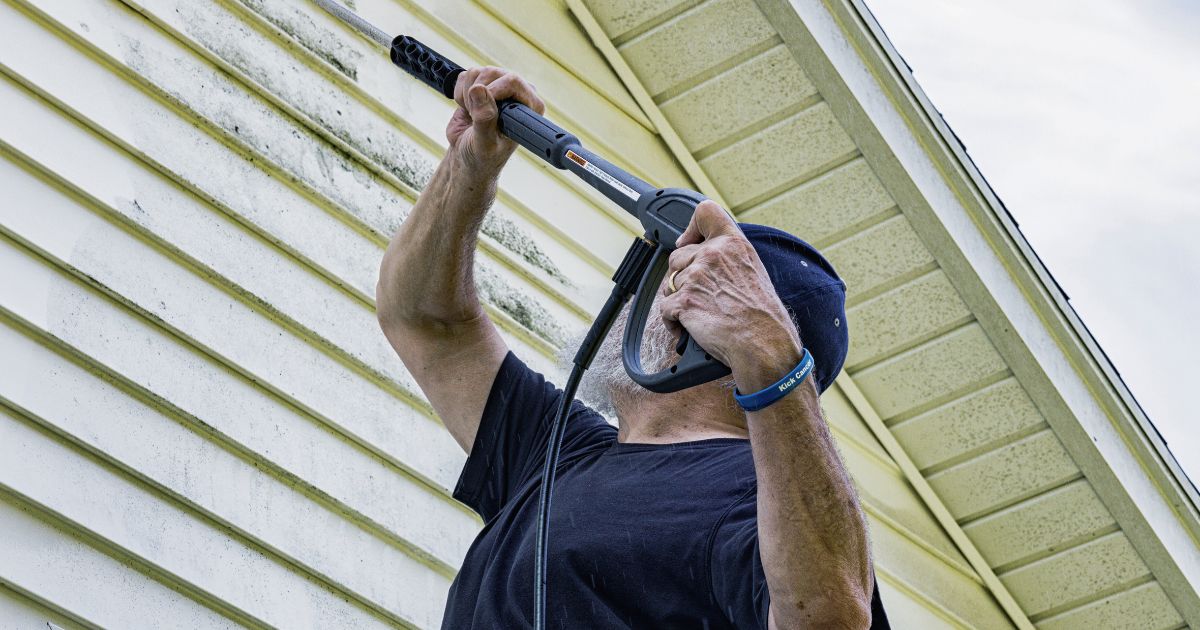
- Removing panels in cold weather when vinyl becomes brittle.
- Removing nails before unlocking the panel.
- Overreaching instead of safely repositioning your ladder.
- Expecting curbside pickup to accept the vinyl siding.
Inspect the Home’s Framework
After you’ve removed the siding, it’s important to inspect the framework of your home. Look for any signs of damage, such as mould, moisture, or insect damage. Fixing any issues now will save you from future problems when you install new siding.